Lamps and Lighting
Antique Lamps and Lighting
Oil, leaded, slag and reverse painted lamps explained, with what to check on a shade, a burner and a base before buying.
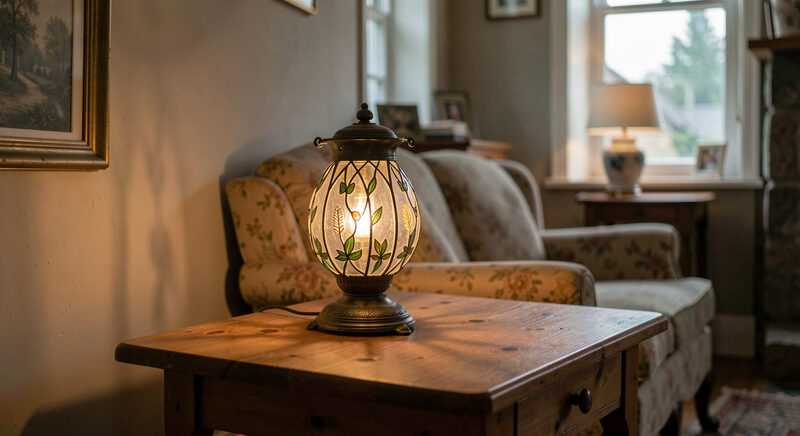
The families of antique lighting
Antique lighting divides by the fuel it burned and the way the light was shaped. Oil lamps burned whale oil, camphene, kerosene or paraffin, and their burners changed as each fuel came and went. Gas lighting came next in the towns, and electric lighting followed at the end of the nineteenth century. Alongside the lamps stood the shades and globes, which ranged from simple clear glass to heavily decorated panels of coloured glass.
Collectors often sort further by the kind of shade. A lamp may carry a plain glass chimney, a globe of milk glass, a shade of leaded glass assembled from many small pieces, a panel of slag glass with its marbled colour, or a shade painted on the inside of the glass so that the picture glows when the lamp is lit. Each of these is a family of its own, with its own makers and its own faults.
Burners, fonts and bases
The working part of an oil lamp is the burner, which holds the wick and feeds the flame. Burners were made by many firms and were often stamped with a maker's name, a size and sometimes a patent date, which makes them useful for dating a lamp. The font, or reservoir, held the oil and was made in glass, metal or pottery. The base carried the lamp and gave it its proportion, and could be as simple as a turned disc of wood or as elaborate as a cast metal figure.
Because these parts were made separately, they were also mixed. A lamp may have a burner from one maker, a font from another and a base from a third, all put together by a retailer. This is not necessarily a fault. It becomes a fault only when the parts are made to look like a set they never were, or when a modern burner is passed off as an old one. The collector should look at the fit of each part and at the wear where the parts meet, since old parts that have lived together show matching wear.
Reading a lamp before you buy
The order of reading a lamp is the same as for any antique: look at the whole object, then at its parts, then at its marks. Stand back and ask whether the lamp is in proportion, since a base that is too heavy or a shade that is too large is often a sign that parts have been married. Look at the burner for a name or a date. Look at the glass for bubbles, seams and colour, which tell how it was made and when. Look at the metal for the kind of wear that comes with use rather than the kind that comes with a chemical bath.
Then look at the shade with the greatest care, because the shade is where most of the money sits and where most of the damage hides. A hairline crack, a replaced panel, a filled chip or a repainted scene can all be hidden in a photograph and can all change what a lamp is worth. The page on leaded, slag and reverse painted lamps takes that inspection step by step, and it is the page to read before buying a lamp with a decorated shade.
Care, fuel and safety
An antique oil lamp can be used, but it must be used with sense. Old burners should be cleaned and checked before any fuel is added, and the correct fuel should be used for the burner, since the wrong fuel can smoke or flare. A lamp with a cracked font should not be filled, because the crack will spread and the oil will leak. A lamp with a damaged wick should have the wick replaced before it is lit. None of this is difficult, but all of it matters in a house with curtains, paper and dry wood nearby.
A lamp that is to be displayed rather than lit needs less, but still needs care. Keep it out of direct sun, which fades painted shades and can craze old glass. Keep it away from damp, which corrodes metal burners and loosens the fit between parts. Dust a shade with a soft brush rather than a wet cloth, and never soak a leaded shade, because water trapped in the lead channels will loosen the joints over time.
Living with a lamp safely
A lamp that is asked to do too much is a lamp that fails. Keep a table lamp on a stable surface, away from the edge and away from anything that can fall onto it. If a lamp is displayed high on a shelf, fix the shelf and make sure the lamp cannot be knocked. If a lamp is used, place it where its cord cannot be tripped over and where a cat or a child cannot reach the flame. A collector who wants a lamp to light a room should choose one that was made to be lit, and should treat the rest as objects to look at rather than objects to burn.
Where to start
A first antique lamp should be a simple oil lamp with a complete burner, a sound font and a plain glass chimney. It teaches the collector how the parts fit and how the object was used, and it costs little. From there, the collector can move to decorated shades once they can read glass and judge repairs. The shade page is the natural next step, and the advertising and ephemera section shows how the same period of lighting was sold and advertised, which is often how a collector dates a lamp whose burner carries no name.
Antique Trader publishes market and collecting coverage across these fields and is a useful general reference: antiquetrader.com.
Lamps and Lighting
Leaded, Slag and Reverse Painted Lamps
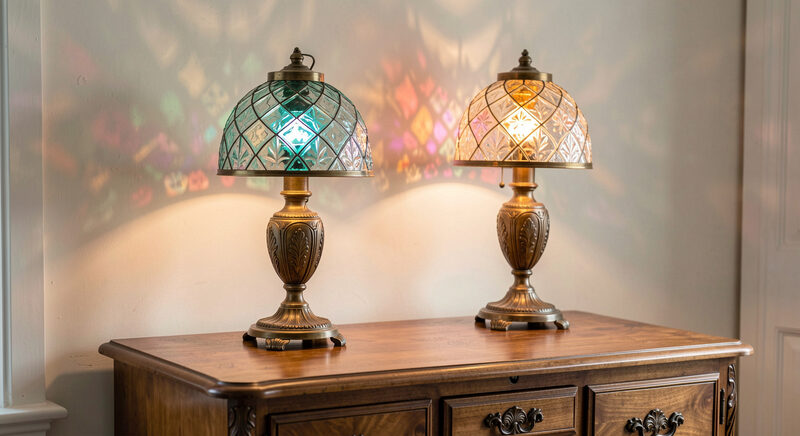
Tell leaded, slag panel and reverse painted lamps apart, check a shade for cracks and repairs, and understand period wiring.
Three shade techniques, three sets of faults to find.